ScreenShot
Capture PNG or JPEG images of the channel viewer image.
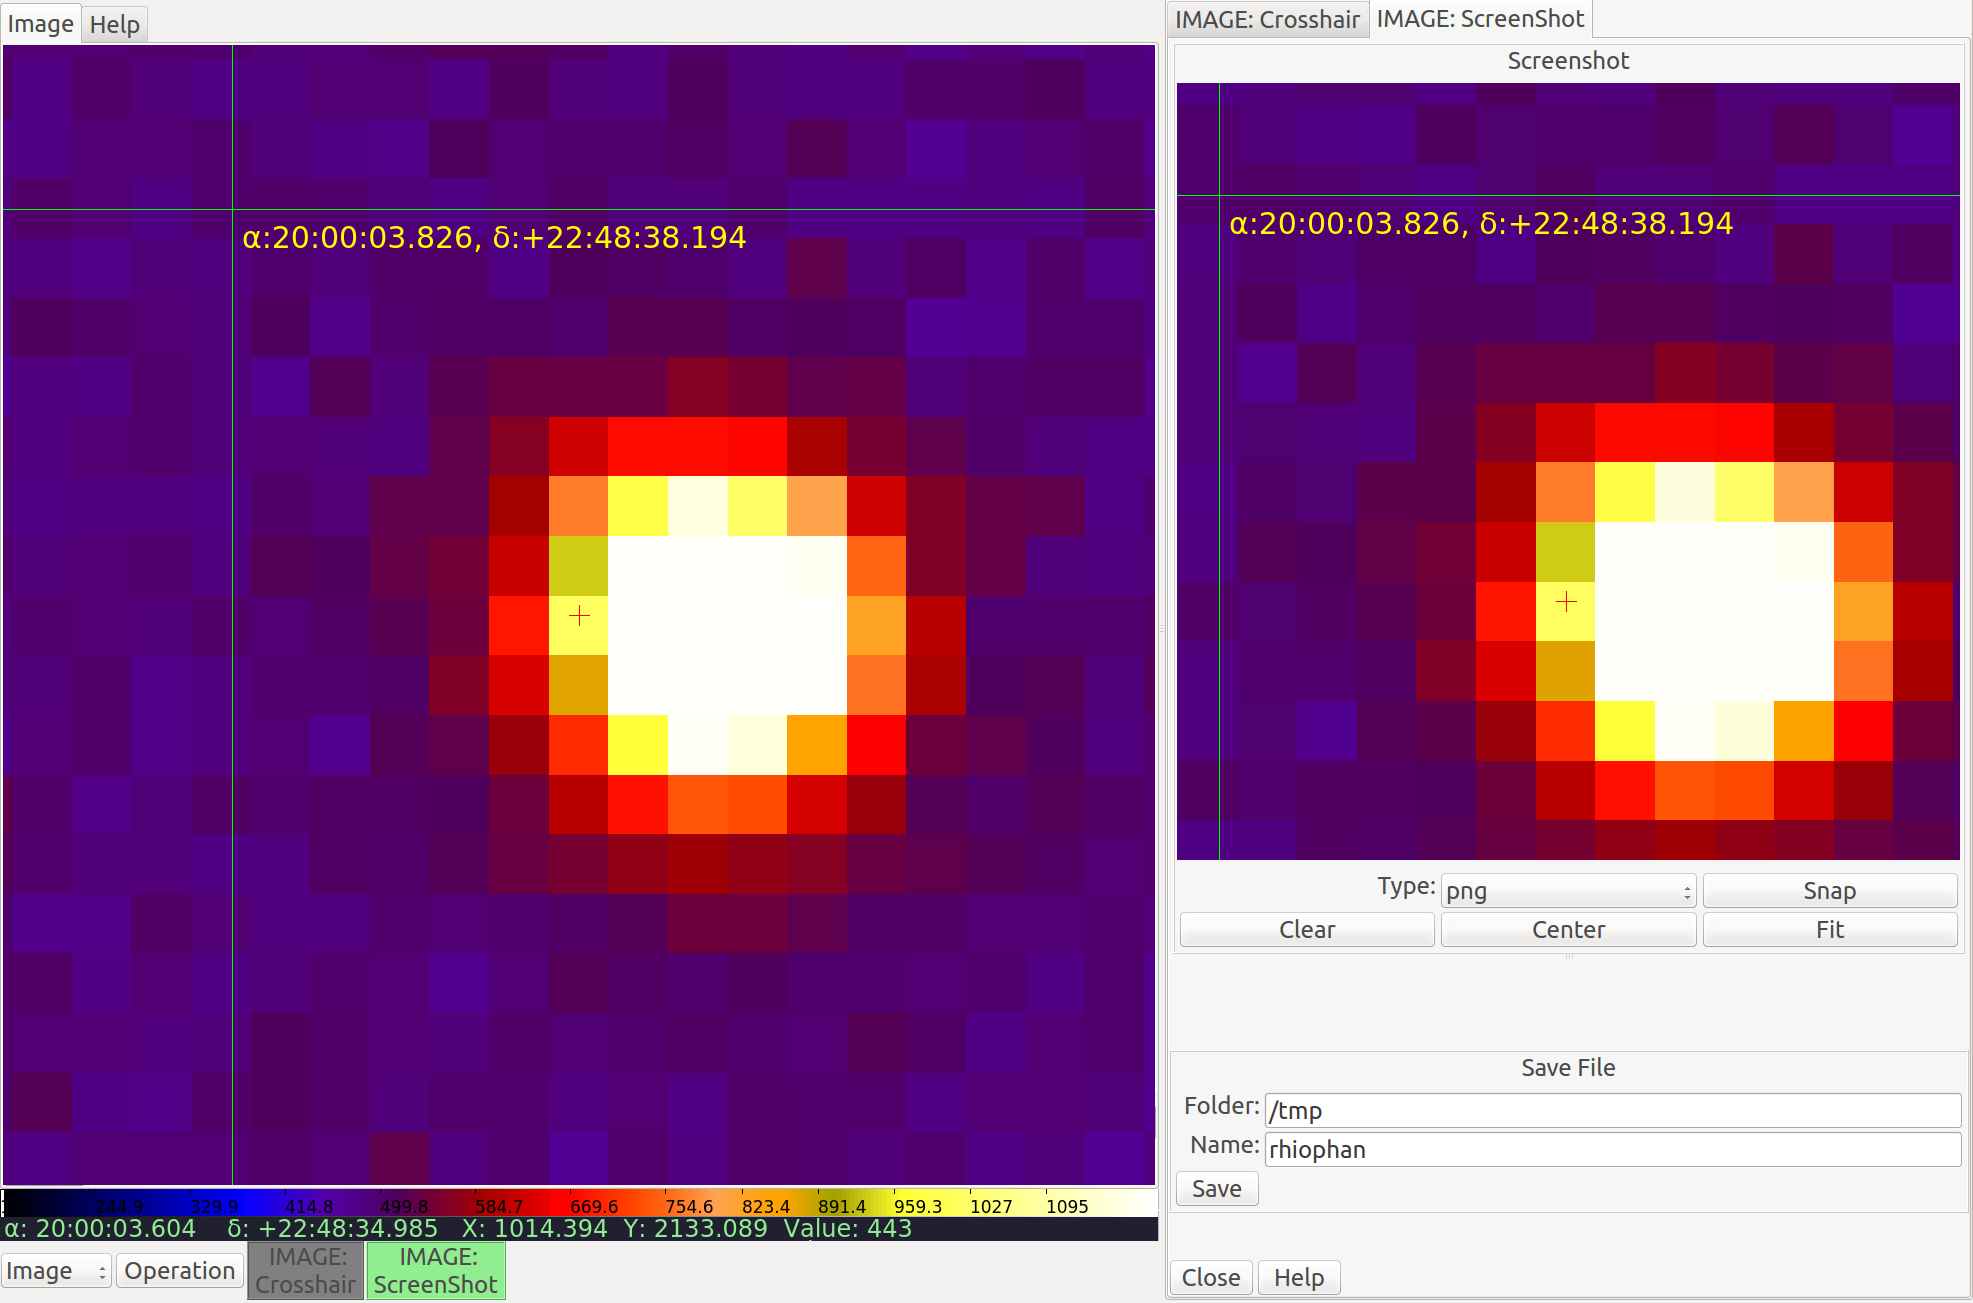
Usage
- Select the RGB graphics type for the snap from the “Type” combo box.
- Press “Snap” when you have the channel image the way you want to capture it.
A copy of the RGB image will be loaded into the ScreenShot viewer.
You can pan and zoom within the ScreenShot viewer like a normal Ginga
viewer to examine detail (e.g., see the magnified difference between
JPEG and PNG formats).
- Repeat (1) and (2) until you have the image you want.
- Enter a valid path for a new file into the “Folder” text box.
- Enter a valid name for a new file into the “Name” text box. There is no need to add the file extension; it will be added, if needed.
- Press the “Save” button. The file will be saved where you specified.
Notes
- PNG offers less artifacts for overlaid graphics, but files are larger than JPEG.
- The “Center” button will center the snap image; “Fit” will set the zoom to fit it to the window; and “Clear” will clear the image. Press “Full” to zoom to 100% pixels (1:1 scaling).
- The “Screen size” checkbox (checked by default) will save the image at exactly the size of the channel viewer window. To save at a different size, uncheck this box, and set the size via the “Width” and “Height” boxes.
- The “Lock aspect” feature only works if “Screen size” is unchecked; if enabled, then changing width or height will alter the other parameter in order to maintain the aspect ratio shown in the “Aspect” box.